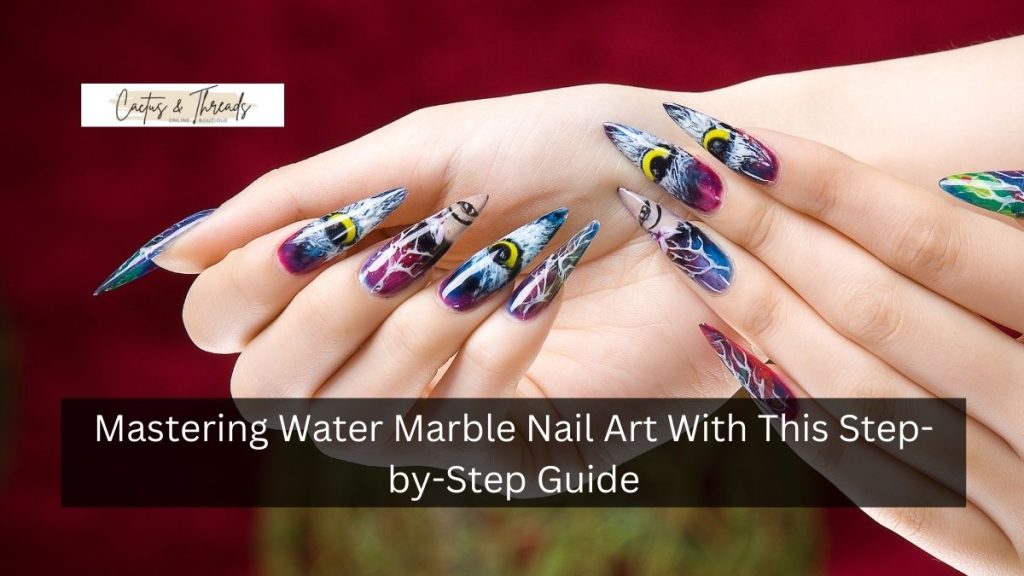
Water marble nail art is a captivating technique that allows you to create intricate, marble-like patterns on your nails using nail polish and water.
This DIY method offers endless possibilities for unique designs, making it a favorite among nail art enthusiasts. In this guide, we’ll walk you through the process of achieving stunning water marble nails at home.
Materials You’ll Need
Before you begin, gather the following materials:

- Base Coat: Protects your natural nails and ensures better adhesion of polish.
- White Nail Polish: Serves as a base color to make the marble design pop.
- Colored Nail Polishes: Choose at least two contrasting colors for the marble effect.
- Clear Top Coat: Seals and protects your design.
- Room Temperature Water: Fill a small cup or bowl; the temperature is crucial for the polish to spread properly.
- Toothpicks or Orange Sticks: For creating patterns in the polish.
- Tape or Liquid Latex: To protect the skin around your nails from excess polish.
- Cotton Swabs and Nail Polish Remover: For cleaning up any mistakes.
Step-by-Step Instructions

- Prepare Your Nails
- Clean and Shape: Start with clean, dry nails. Shape them to your desired length and style.
- Apply Base Coat: Apply a thin layer of base coat to protect your nails and let it dry completely.
- Apply Base Color
- White Polish: Apply two coats of white nail polish. This base color will make the marble design more vibrant. Allow each coat to dry thoroughly.
- Protect Your Skin
- Use Tape or Liquid Latex: Apply tape or liquid latex around your nails to shield your skin from excess polish during the marbling process.
- Prepare the Water
- Room Temperature: Ensure the water is at room temperature. If it’s too cold or too warm, the polish may not spread correctly.
- Create the Marble Design
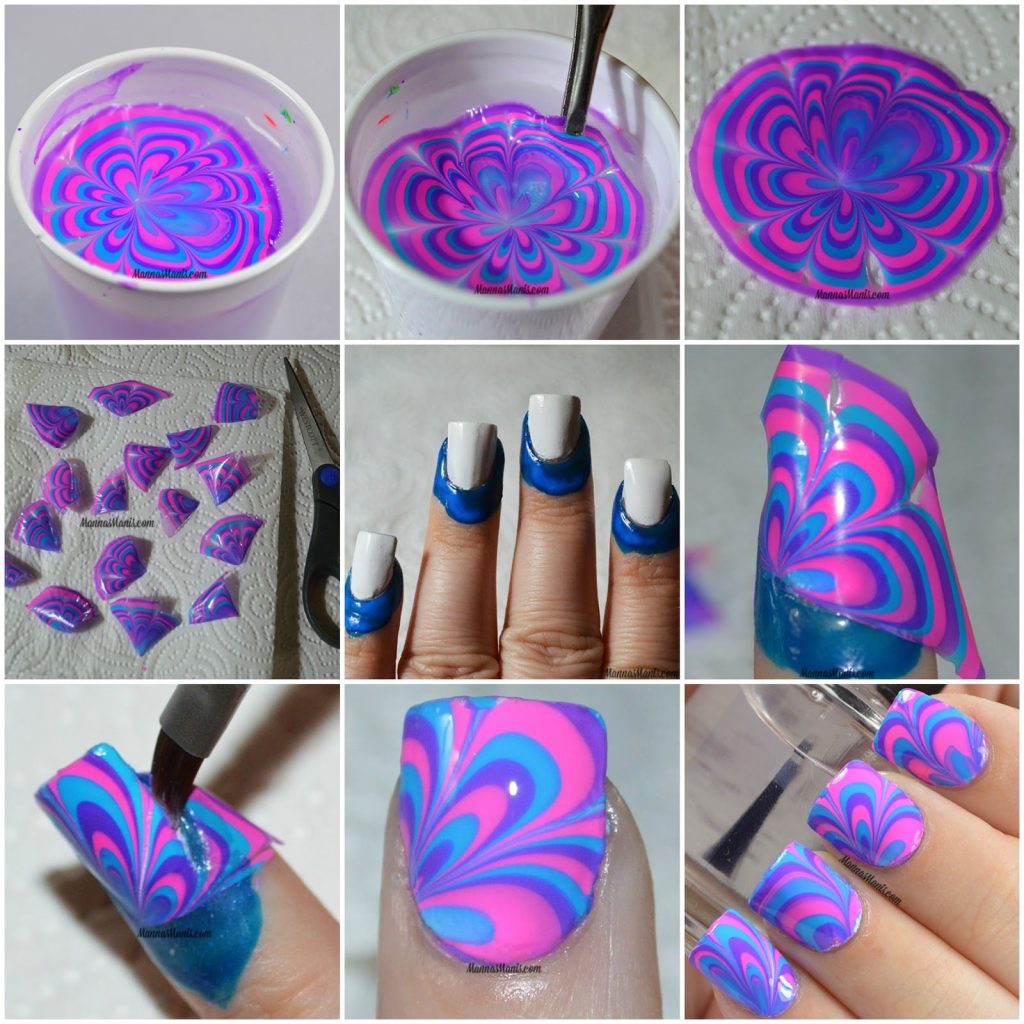
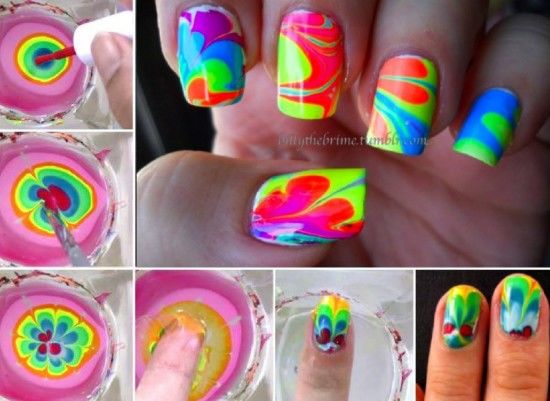
- Add Polish Drops: Open the bottles of your chosen colored polishes. Working quickly, add a drop of the first color into the center of the water’s surface. It should spread out into a circle.
- Layer Colors: Immediately add a drop of the second color into the center of the first circle. Continue alternating colors, creating a bullseye pattern with several rings.
- Design the Pattern
- Use a Toothpick: Gently drag a toothpick from the center outward or from the outer edge inward to create your desired pattern. Be creative—swirls, petals, and zigzags are popular choices.
- Dip Your Nail
- Positioning: Hold your finger parallel to the water’s surface and slowly dip your nail into the center of the design.
- Clean Excess Polish: While your nail is submerged, use a toothpick to remove any remaining polish from the water’s surface to prevent it from sticking to your nail upon removal.
- Remove Finger: Carefully lift your finger out of the water, keeping it parallel to avoid smudging.
- Clean Up
- Remove Protection: Take off the tape or peel off the liquid latex from around your nail.
- Tidy Edges: Use a cotton swab dipped in nail polish remover to clean any polish that may have gotten onto your skin.
- Seal the Design
- Apply Top Coat: Once the marble design is completely dry, apply a clear top coat to seal and protect your artwork.
Tips for Success
- Work Quickly: Nail polish can dry fast, so it’s essential to work swiftly during the marbling process.
- Use Fresh Polishes: Older polishes may not spread well on water. Ensure your polishes are fresh and of good quality.
- Experiment with Colors: Test different color combinations to see which ones spread and blend well together.
- Practice Makes Perfect: Don’t be discouraged if your first attempts aren’t perfect. Practice will improve your technique.
Common Challenges and Solutions
- Polish Not Spreading: If the polish doesn’t spread on the water, it might be too thick or the water temperature isn’t right. Try using a different polish or adjusting the water temperature.
- Bubbles on Nails: Bubbles can form if you move too quickly or if there’s air trapped under the polish. Dip your nail slowly and ensure the polish is fully spread before dipping.
- Messy Edges: Using tape or liquid latex helps, but careful application and cleanup are key to neat edges.
Conclusion:
Water marble nail art is an exciting and creative way to add unique designs to your nails. By following the step-by-step process, using the right materials, and practicing patience, you can achieve stunning, professional-looking results from the comfort of your home.
Experiment with different colors and patterns to make each look your own. Though it may take a few tries to perfect, the effort is worth the beautiful, custom designs you’ll create. Enjoy the process and showcase your personal style!


