Acrylic nails are a favorite for many due to their durability and stylish look. However, removing them can be challenging, especially if you want to avoid a trip to the salon.
The good news is that with the right tools and techniques, you can safely and effectively remove acrylic nails at home without damaging your natural nails. Follow these step-by-step tips to take off your acrylics with ease and keep your nails healthy.
Why Removing Acrylic Nails Properly Matters
Acrylic nails are adhered using strong adhesives, which means pulling or peeling them off can lead to serious damage to your natural nails.
This can cause thinning, breakage, and even pain. By following the correct removal methods, you ensure your nails stay strong and ready for your next manicure.
Tools You’ll Need for Acrylic Nail Removal
Before you start, gather the following tools to make the process smooth and safe:
- Acetone (100%): Essential for dissolving the acrylic.
- Nail file: Used for filing down the top layer of the acrylic.
- Cotton balls or pads: To hold the acetone against your nails.
- Aluminum foil strips: Wraps around the nails to keep the acetone-soaked cotton in place.
- Nail buffer: Smoothens the nail surface after removal.
- Cuticle oil or lotion: Moisturizes nails and cuticles after removal.
Step-by-Step Guide to Remove Acrylic Nails at Home
Here’s a step-by-step approach to safely remove your acrylic nails without causing any damage.
Step 1: Trim and File Down the Acrylic Nails
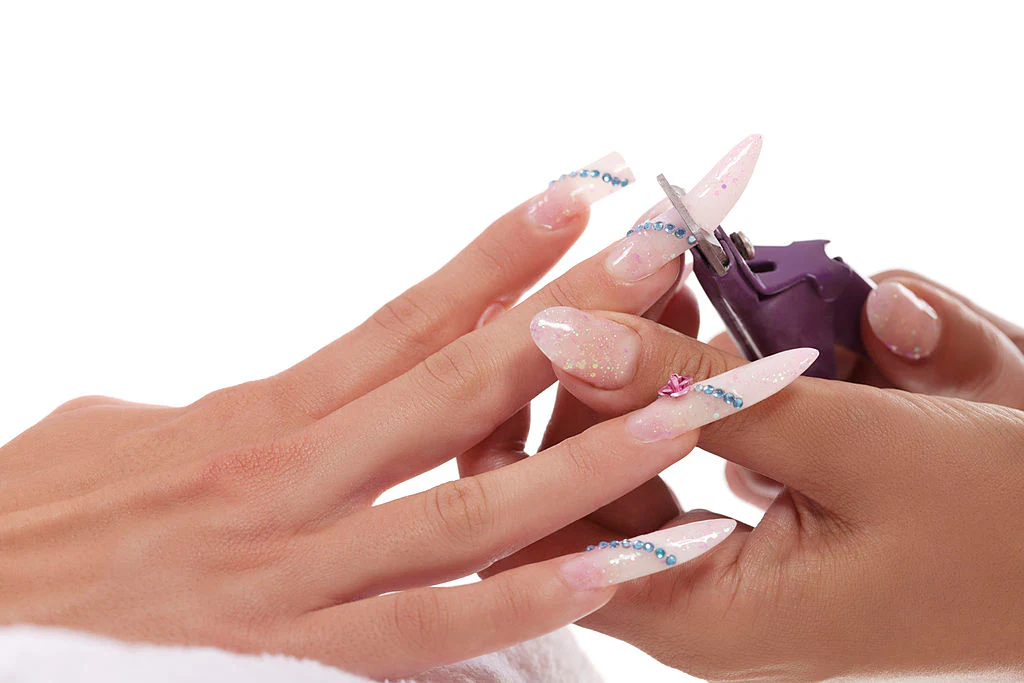
Start by using a nail clipper to trim your acrylic nails as short as possible. This reduces the surface area, making the removal process quicker.

Once trimmed, use a coarse nail file to file down the top layer of the acrylic. This will break the seal and allow the acetone to penetrate more effectively. Be gentle to avoid reaching your natural nail.
Step 2: Soak Cotton in Acetone and Wrap Your Nails
Soak a cotton ball or pad in 100% acetone until it’s fully saturated. Place the soaked cotton on top of your nail, ensuring it covers the entire surface.
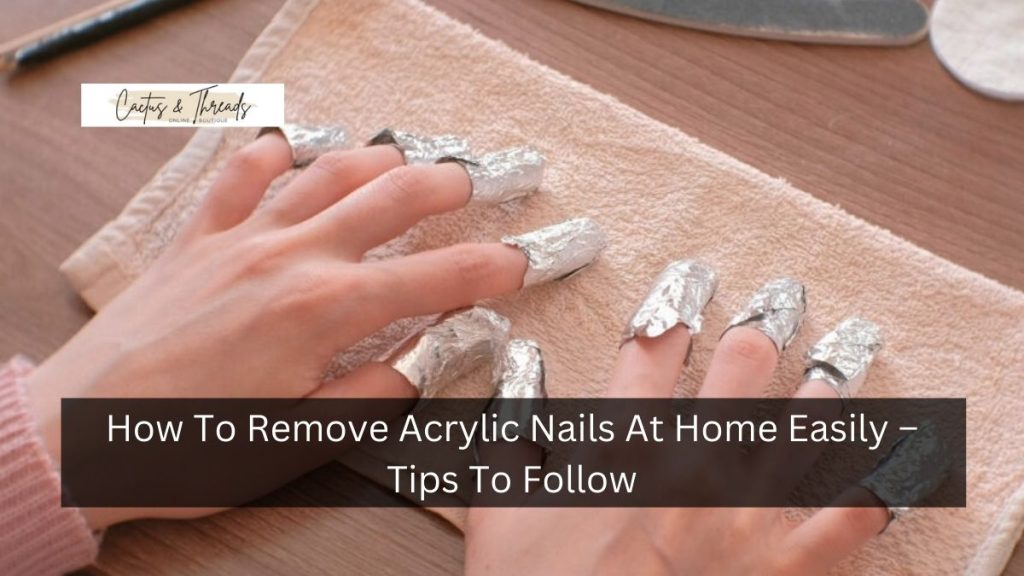
Wrap a piece of aluminum foil around each finger to keep the cotton in place and create a warm environment for faster removal. Repeat this for each nail and let it sit for 20-30 minutes.
Step 3: Check and Gently Remove the Acrylic
After 20-30 minutes, unwrap one nail to check if the acrylic has softened. If it appears gooey or starts lifting easily, it’s ready for removal. Use a cuticle pusher or an orange stick to gently push off the softened acrylic.
If some parts are still stuck, reapply the acetone-soaked cotton and wrap it with foil for another 10 minutes. Avoid scraping or pulling, as this can damage your natural nail.
Step 4: Buff and Smooth the Nails
Once all the acrylic is removed, use a nail buffer to smooth out any rough areas on your natural nails. Buffing helps restore the nail’s natural shine and removes any leftover residue. Be gentle while buffing to prevent thinning your nails.
Step 5: Hydrate and Nourish Your Nails
After removing the acrylic, your nails may feel dry and brittle due to the acetone. Apply cuticle oil & massage it into your nails and cuticles.
Follow up with a rich hand cream or lotion to hydrate your skin. For deep nourishment, consider using a nail strengthening treatment for a few days to restore health and moisture to your nails.
Alternative Methods to Remove Acrylic Nails Without Acetone
If you prefer to avoid acetone, there are other ways to remove acrylic nails at home. While these methods may take longer, they can be gentler on your nails.
Using Dental Floss
Dental floss is a quick method for removing acrylic nails but requires caution. Here’s how:
- Slide a cuticle stick under the edge of the acrylic nail to lift it slightly.
- Ask someone to help you slide a piece of dental floss under the lifted edge.
- Gently move the floss back and forth to work the acrylic off your natural nail. Move slowly to avoid damaging your nail bed.
Soaking in Warm Water and Soap
If you’re looking for a non-chemical method, warm water and soap can help, although it’s a slower process:
- Fill a bowl with warm (not hot) water and add a few drops of mild dish soap.
- Soak your nails in the solution for 30-40 minutes. The water will help soften the acrylic and loosen the adhesive.
- Gently lift the acrylic from the edges using a cuticle stick. You may need to repeat this process until the acrylics are fully removed.
Tips to Keep Your Natural Nails Healthy After Acrylic Removal
After removing acrylic nails, focus on keeping your natural nails healthy. Here are some tips to help your nails recover:
- Avoid reapplying acrylics immediately: Give your nails time to breathe and heal.
- Use a nail hardener: Strengthening treatments can reinforce fragile nails and help them regain their natural strength.
- Apply cuticle oil daily: Regularly moisturizing your cuticles and nails promotes growth and prevents brittleness.
- File nails carefully: Use a fine-grit file and avoid aggressive filing, which can weaken nails.
Final Thoughts
If you take the proper precautions, removing artificial nails at home may be easy and secure. You may prevent possible damage and maintain the health of your natural nails by carefully removing the acrylic after soaking, filing, cutting, and filing.
For best results, use high-quality ingredients, have patience during the procedure, and constantly feed your nails afterwards. You can get a salon-quality removal experience at home with three simple steps, preserving your nails and saving time and money.


