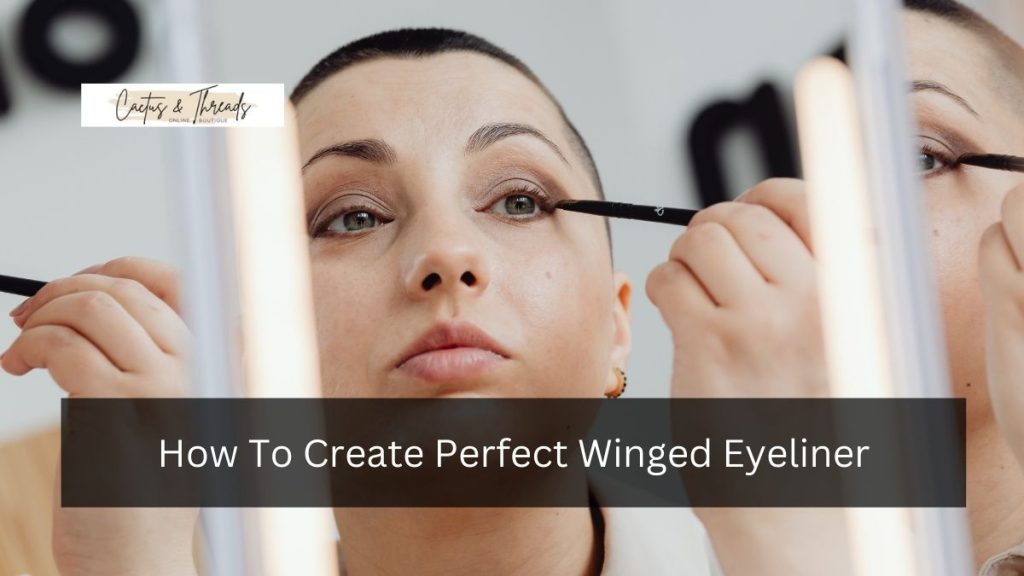
Achieving the perfect winged eyeliner is a coveted skill in the beauty world, adding a touch of elegance and drama to any look. While it may seem daunting, with the right techniques and tools, anyone can master this art. This guide provides a step-by-step approach to help you create flawless winged eyeliner.
Understanding Winged Eyeliner
Winged eyeliner involves extending the eyeliner past the outer corner of the eye, creating a ‘wing’ effect. This style enhances the eyes, making them appear larger and more defined. The key to perfection lies in symmetry and precision.
Essential Tools and Products
To achieve the perfect winged eyeliner, you’ll need:
- Eyeliner: Options include liquid, gel, or pencil liners. Liquid liners offer precision, while gel liners provide a smoother application. Choose a product that suits your comfort level and desired look.
- Angled Brush: For gel liners, an angled brush aids in creating sharp lines.
- Primer: Applying an eye primer ensures the eyeliner stays put and prevents smudging.
- Concealer: Useful for correcting mistakes and sharpening the wing.
Step-by-Step Tutorial
- Prepare Your Eyelids
- Cleanse: Start with clean, dry eyelids to remove any oils.
- Prime: Apply an eye primer to create a smooth base and enhance the longevity of your eyeliner.
- Choose Your Eyeliner
- Liquid Liner: Ideal for sharp, precise lines.
- Gel Liner: Offers a smooth application and is suitable for beginners.
- Pencil Liner: Great for a softer look and easier to control.
- Draw the Wing
- Determine the Angle: Look straight ahead and decide the angle of your wing. A general guideline is to follow the natural line of your lower lash line extending towards the end of your eyebrow.
- Create a Guide: Lightly mark the endpoint of your wing with a dot or small dash.
- Draw the Line: Starting from the outer corner of your eye, draw a line connecting to the endpoint. This forms the bottom of your wing.
- Connect to the Upper Lash Line
- Draw the Upper Line: From the endpoint of the wing, draw a line back towards the center of your upper lash line, creating a triangular shape.
- Fill In: Fill in the triangle to complete the wing.
- Line the Upper Lash Line
- Inner Corner: Starting from the inner corner of your eye, draw a thin line along your upper lash line, connecting to the wing.
- Thickness: Adjust the thickness of the line based on your preference, keeping it thinner towards the inner corner and thicker as it moves outward.
- Refine and Perfect
- Clean Up: Use a concealer and a small brush to clean up any mistakes and sharpen the edges of the wing.
- Set: Apply a translucent powder over the eyeliner to set it and prevent smudging.
Conclusion:
Creating the perfect winged eyeliner is a skill that enhances your makeup repertoire, adding sophistication and allure to your look.
By following this comprehensive guide and practicing regularly, you’ll be able to achieve flawless wings that complement your unique eye shape and style. Remember, the key lies in precision, symmetry, and confidence. Happy lining!
READ ALSO:


